We have used a variety of different media technologies to research, plan construct and evaluate our media products and music video. These technologies helped to create effective products and develop our ideas into real life visuals. For planning we used a blogging website called Blogger, for editing picture we used Photoshop, for editing the music video we used Final Cut and for creating a exciting evaluation we used a website called Wix. We also used camera equipment to film the footage for our media product.
First of
all we needed to plan our music video and research into our ideas for our music
video. We found blogger to be the best blogging website to use as we could show
our ideas by scanning them into the computer and uploading them onto our blog.

It also
allowed us to upload videos from YouTube of ideas that we could use, and also
practice videos that we have created to see if they work well with the music we
have chosen.
Blogger
is Web 2.0 as it allows you to interact with your audience, which helped us get
a better understanding of what demographic we would like to aim our media
product at. Also it made us become organised as we uploaded all our work onto
blogger so every person in our group had access to it, which made it easier for
us to share what we have come up with.


One feature
that we did find tricky to use was the cutting tool when outlining the
silhouettes. This was because if you moved your hand too quickly and select the
wrong part of the picture then you would have to start again. It happened quite
a few times whilst cutting out the silhouettes so it took longer than it should
have done.
When we
started to shoot the green screen to create the silhouettes and film the
footage of the couple we found that the equipment we had was very limited as in
the back light to create the shadows. At first it was difficult to get the
light in the right place to make the lighting the same at every angle. In the
end it involved someone holding the light in the same position, but this become
a drawback because if we ever needed to shoot the images again we wouldn’t be
able to create the same light.


Fortunately
we didn’t need to shoot the green screen images and footage again as we got it
right first time.
The
camera equipment we used for our filming was SANYO XACTI HD and Velborn Sherpa
Tripod.


Altogether the camera shot good quality footage when all the settings were right and it was in focus. But it took a while for us to make sure everything we shot was right. For example every time we used the camera we would have to do a white-balance otherwise the colours would be either too dark or too light. This became a problem when we went to shoot in the forest because we forgot to bring anything white that we could do the white balance on.


This made some of our footage look more orange as the colour was off balance.
Another
time we had difficulties, was on our first filming day when we was filming
balloons flying in the air. The camera wasn’t reacting the way we wanted it to
in the bright light from the sky. As soon as we tilted the camera towards the
sky it would just go white instead of blue. This meant that we couldn’t see the
balloons in the sky. In the end we found a spot where we could film that would
make the balloons clear in the sky, this was in a shaded place.


Another
camera we used was a Nikon D40 for the stop motion images and for our ancillary
products. When taking the stop motion pictures we also used the Tripod to make
sure that the camera stays at the right angle. The camera was simple to use the
only problem was that sometimes it would go out of focus, this would mean that
we would have to do the whole stop motion sequence again. This happened twice
which meant we was doing everything twice.


The main
time it happened was when myself and Chloe was shooting the stop motion at the
beginning of the video. We learnt that as the paper got closer the camera would
lose focus. We only found this when we looked back through the pictures and
thought we had finished but realised we had to do it all over again. So when we shot the stop motion again we made sure that every time we took a new picture we would
check that the camera was in focus.


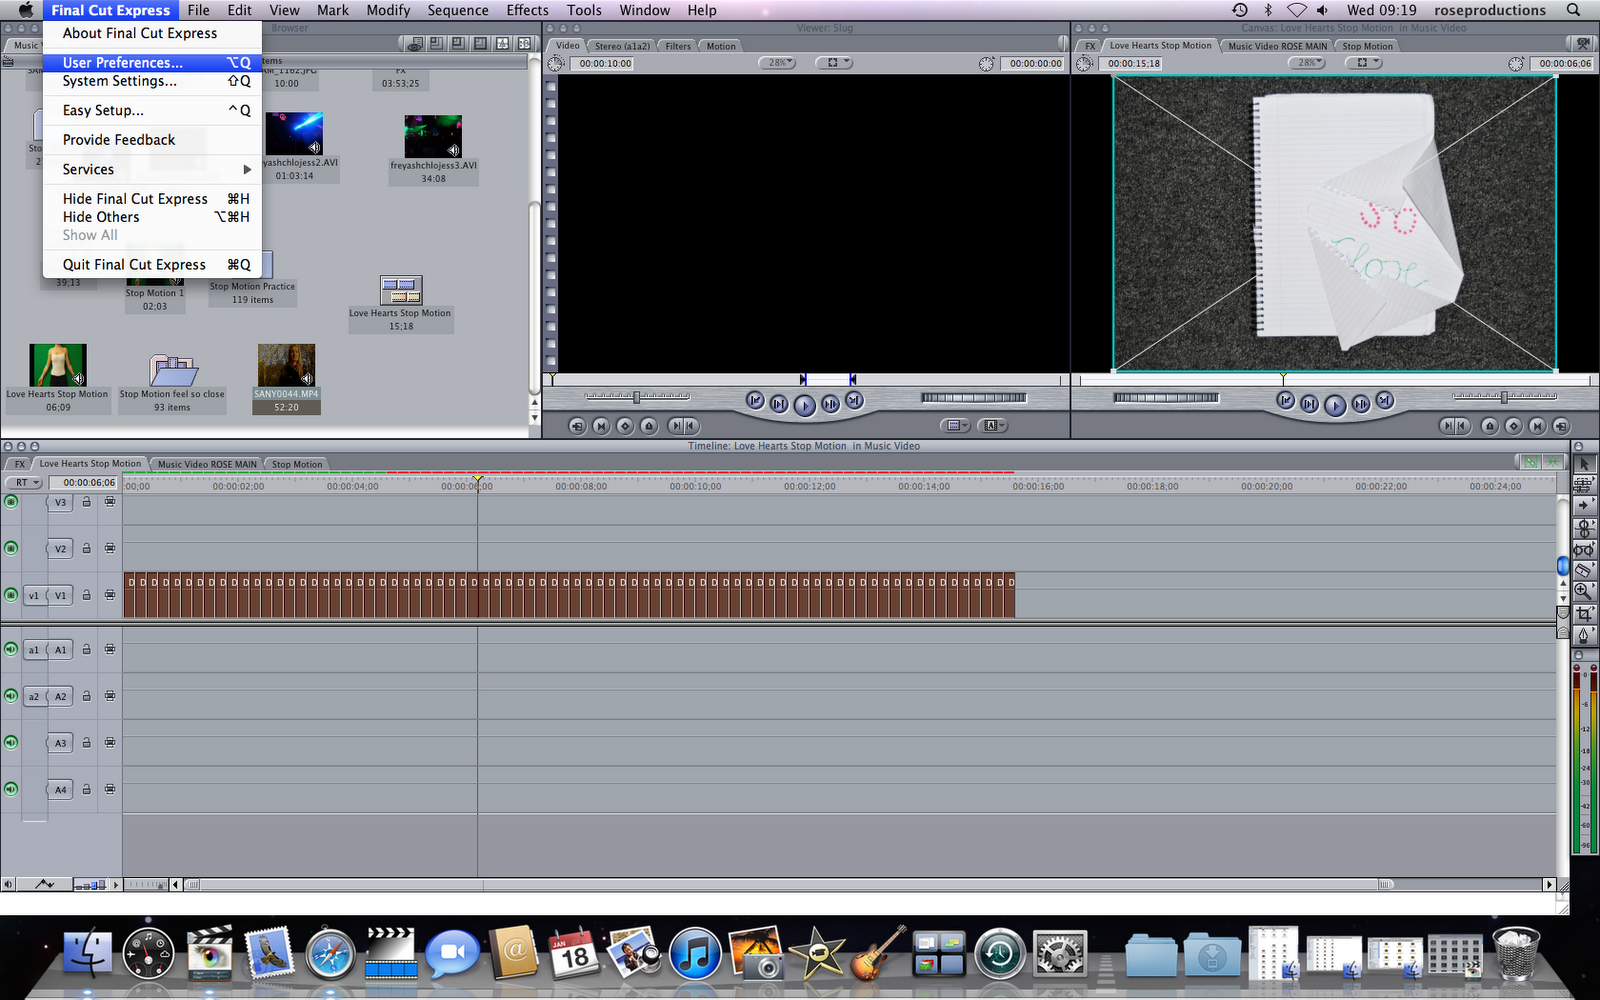

Once I had finished creating the stop motion opening on Final Cut we saw as a group that it made it look like things were moving when really they are just still images, therefore we decided to use this effect again in the video.


As I edited most of the music video I found Final Cut quite challenging at the beginning for example getting the music in time with the footage (Lip-syncing) so I practiced with previous filming first before starting the actual music video, this helped me get used to the tools on the software for example cutting and rearranging.
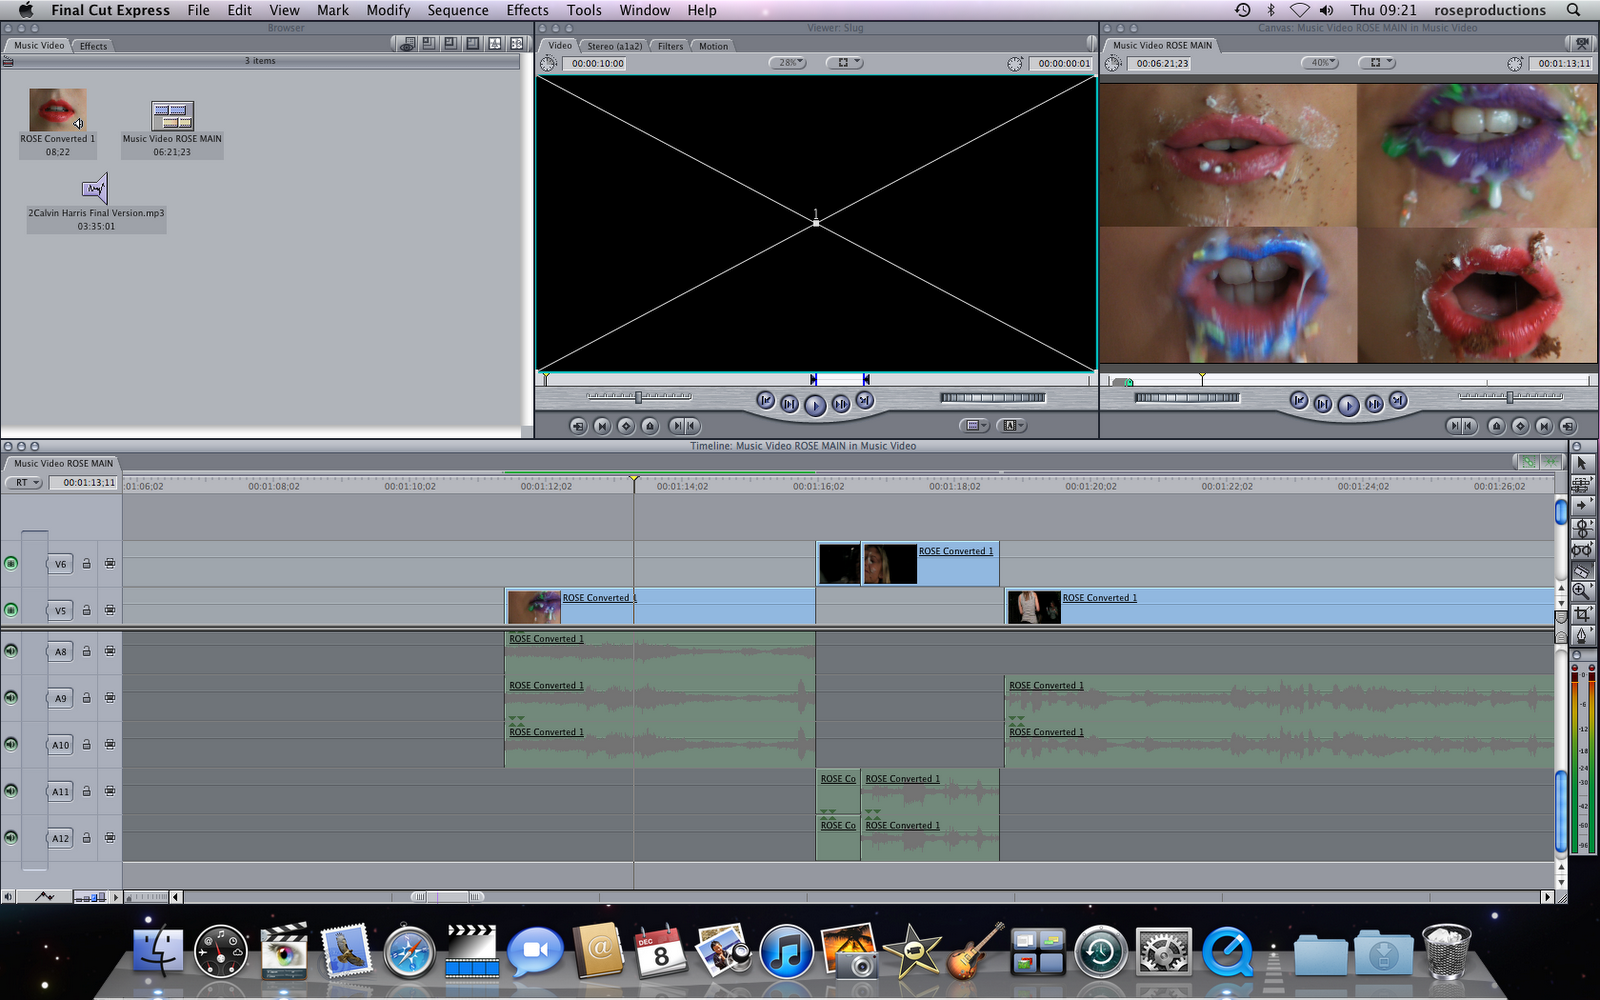
I also
trouble with adding new footage onto the sequence on Final Cut because every
time I would do this the whole of the rest of the footage would move out of
place meaning I would have to move it back into the right place again. This
kept happening until I found out that I had to find the correct place to drop
the new footage. After I found out how to do it this problem didn’t happen again.


Overall
our equipment that we was given was very limited so everything we had planned
could not be created. But everything that we did create looks and works well
together. The equipment gave us more ideas by practicing different techniques
we used some ideas and expanded them as they looked professional and effective.
No comments:
Post a Comment